How To Make Inground Compost In Days
Composting is a great way to reduce your environmental impact, save money on fertilizers, and improve the health of your garden. Inground composting is a simple and effective way to make compost, and it can be done in as little as 10 days.
In this blog post, I will show you how to make inground compost in 10 days. I will provide step-by-step instructions, as well as tips and tricks to help you get the best results.
What is inground composting?
Inground composting is a method of composting where organic materials are buried in the ground. The materials are broken down by microorganisms, such as bacteria and fungi, and the resulting compost is then mixed back into the soil.
Inground composting is a relatively simple process, and it can be done in any garden. However, there are a few things you need to keep in mind to ensure that your compost turns out well.
What materials can I use for inground composting?
You can use a variety of organic materials for inground composting. Some common materials include:
- Food scraps: This includes vegetable scraps, fruit scraps, coffee grounds, tea bags, eggshells, and other food waste.
- Yard waste: This includes leaves, grass clippings, weeds, and other plant material.
- Wood chips: Wood chips are a great source of carbon for your compost pile.
- Manure: Manure from animals such as chickens, cows, and horses is a good source of nitrogen for your compost pile.
How to make inground compost in 10 days
Here are the steps on how to make inground compost in 10 days:
- Choose a location for your compost pile. The location should be in a sunny spot that receives at least six hours of sunlight per day. The soil should also be well-drained.
- Dig a hole that is about 3 feet deep and 3 feet wide.
- Add a layer of organic materials to the bottom of the hole. This layer should be about 6 inches thick.
- Add another layer of organic materials. This layer should also be about 6 inches thick.
- Continue adding layers of organic materials until the hole is full.
- Cover the compost pile with a layer of soil.
- Water the compost pile regularly.
- In about 10 days, your compost will be ready to use.
Tips for inground composting
Here are a few tips for inground composting:
- Keep the compost pile moist, but not soggy.
- Turn the compost pile every few days to help aerate it and speed up the composting process.
- Add a variety of organic materials to the compost pile to create a balanced mix.
- If you live in a cold climate, you may need to cover the compost pile with a tarp or other material to protect it from the cold.
Conclusion
Inground composting is a simple and effective way to make compost in a short amount of time. By following the steps in this blog post, you can have your own homemade compost in just 10 days.
Compost is a valuable resource for gardeners. It can be used to improve the drainage and fertility of soil, and it can also help to suppress weeds and pests. By making your own compost, you can save money on fertilizers and improve the health of your garden.
If you're interested in learning more about in-ground composting, I recommend visiting Home Gardening. This website has a wealth of information on the topic, including:
- How in-ground composting works
- The different types of in-ground composters
- The benefits of in-ground composting
- How to set up an in-ground composter
- How to maintain an in-ground composter
FAQ of in ground compost
- Where should I put my in-ground compost pile?
The best place for an in-ground compost pile is in a sunny spot with good drainage. It should also be away from trees and shrubs, as their roots can compete with the compost for nutrients. If you don't have a sunny spot, you can still create an in-ground compost pile in a shady area, but it will take longer for the compost to break down.
- What materials can I put in my in-ground compost pile?
You can put a variety of materials in your in-ground compost pile, including:
Green materials: These materials are high in nitrogen, such as grass clippings, vegetable scraps, and coffee grounds.
Brown materials: These materials are high in carbon, such as leaves, straw, and wood chips.
Yard waste: This includes weeds, dead plants, and prunings.
Manure: This is a great source of nitrogen and other nutrients.
Earthworms: These help to aerate and break down the compost.
How do I maintain my in-ground compost pile?
To maintain your in-ground compost pile, you need to:
Turn the pile regularly: This helps to aerate the compost and speed up the decomposition process.
Keep the pile moist: The compost should be moist, but not wet.
Add new materials as needed: As the compost breaks down, you will need to add new materials to keep the pile going.
Cover the pile: This helps to keep the compost moist and prevent pests and rodents from getting in.
How long does it take for in-ground compost to break down?
The amount of time it takes for in-ground compost to break down depends on a number of factors, including the type of materials you use, the size of the pile, and the climate. In general, it takes about 3-6 months for in-ground compost to break down completely.
Image of in ground compost
10 different images of in ground compost that are free to use:
- A compost trench in a garden bed. The trench is about 12 inches deep and filled with a mixture of organic materials, such as leaves, grass clippings, and vegetable scraps.

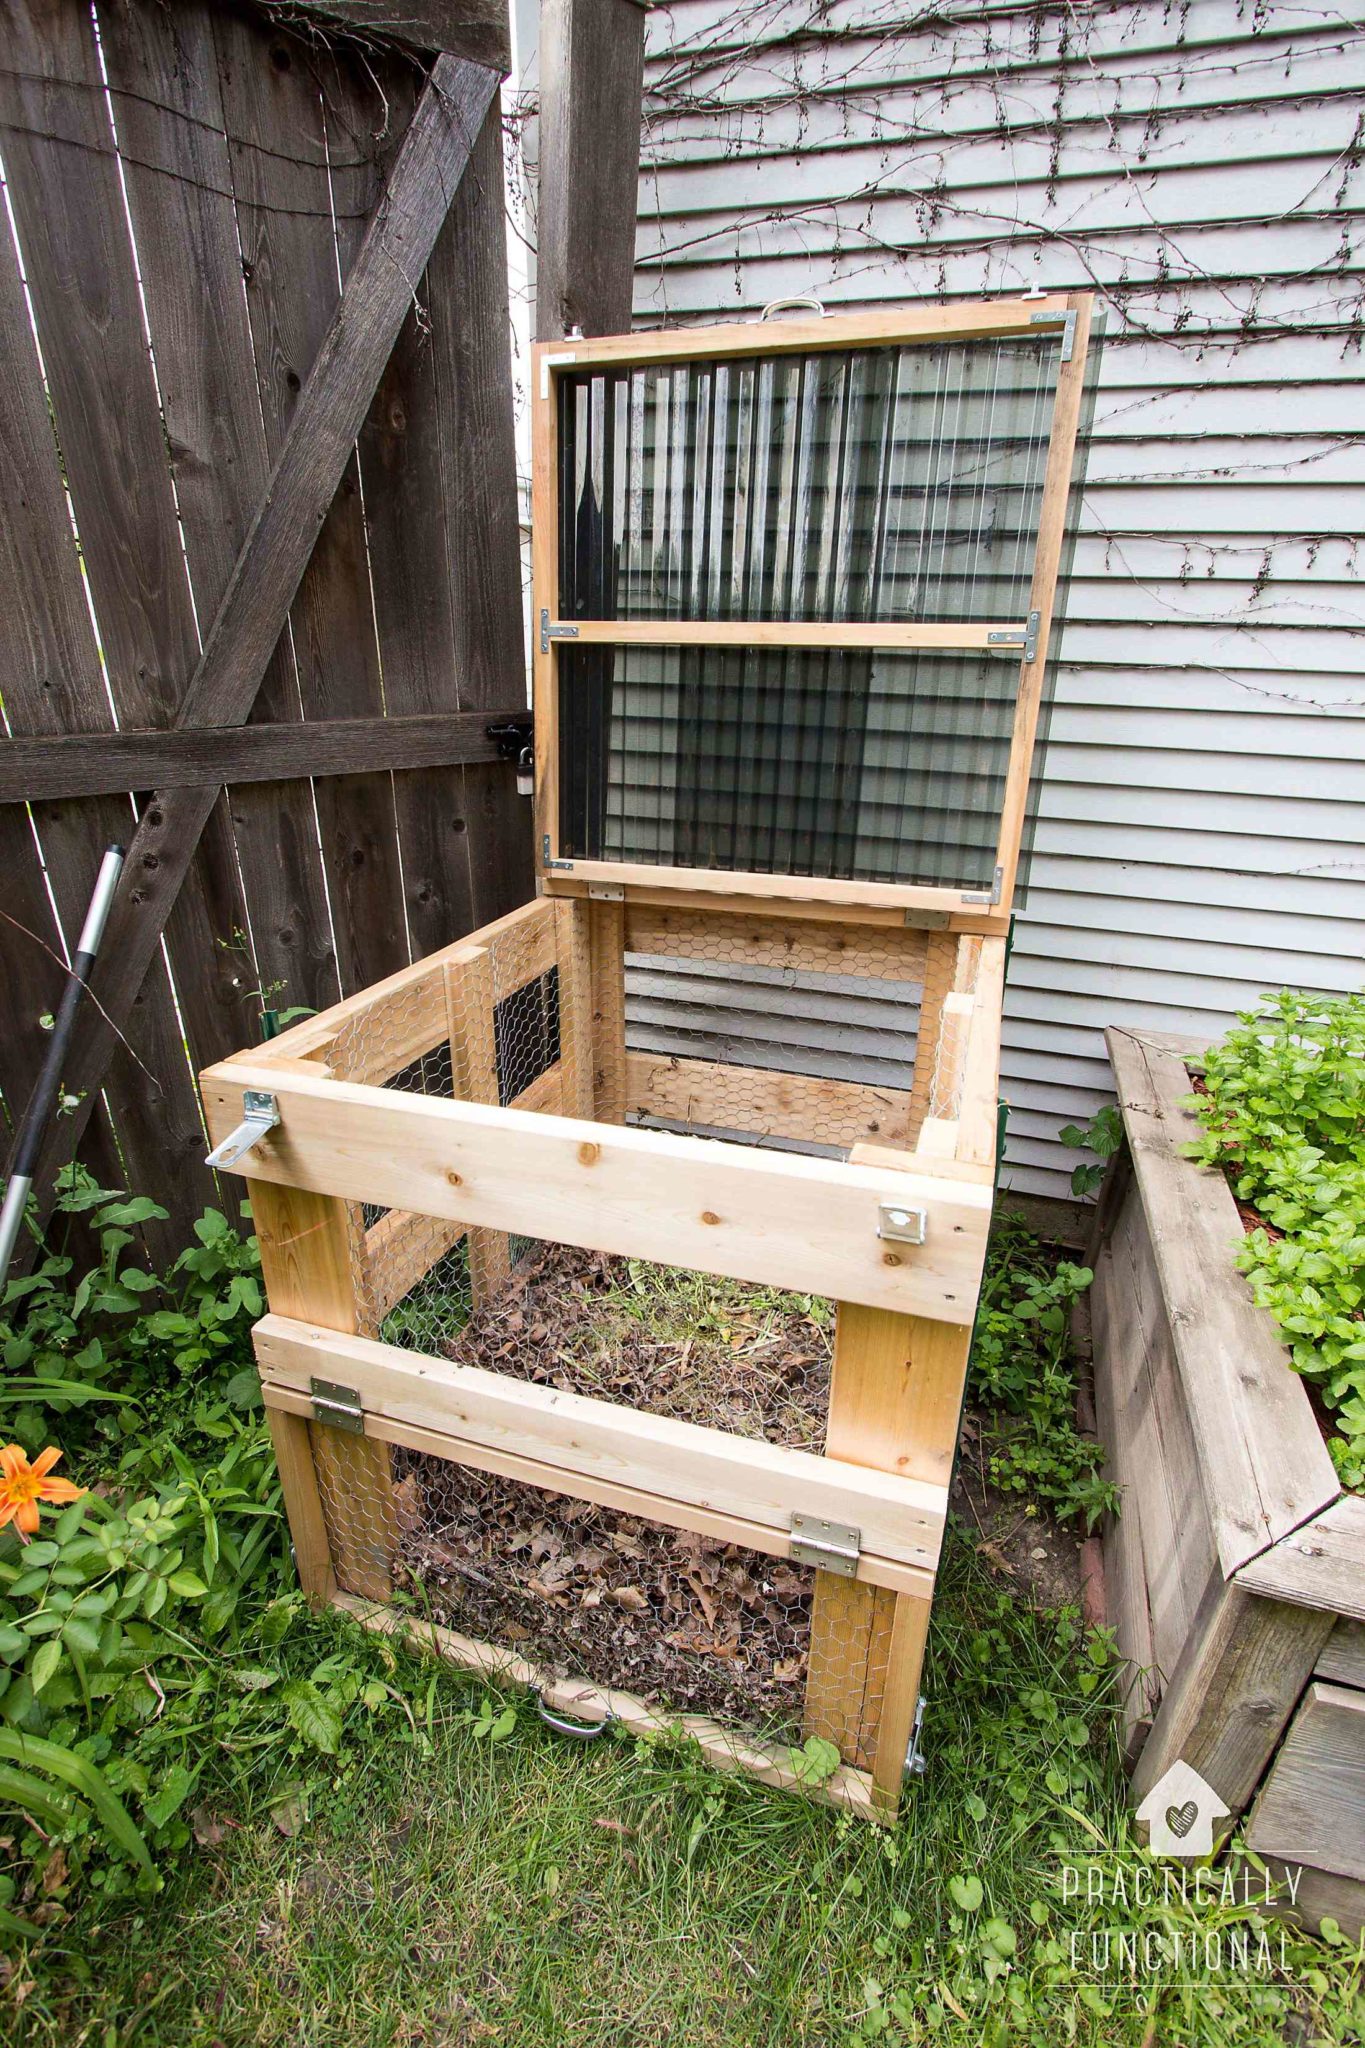
- A compost bin made from a wooden frame and chicken wire. The bin is filled with organic materials and is located in a shady spot in the garden.
- A compost pile in a corner of the yard. The pile is made from a variety of organic materials, including fruit and vegetable scraps, yard waste, and coffee grounds.

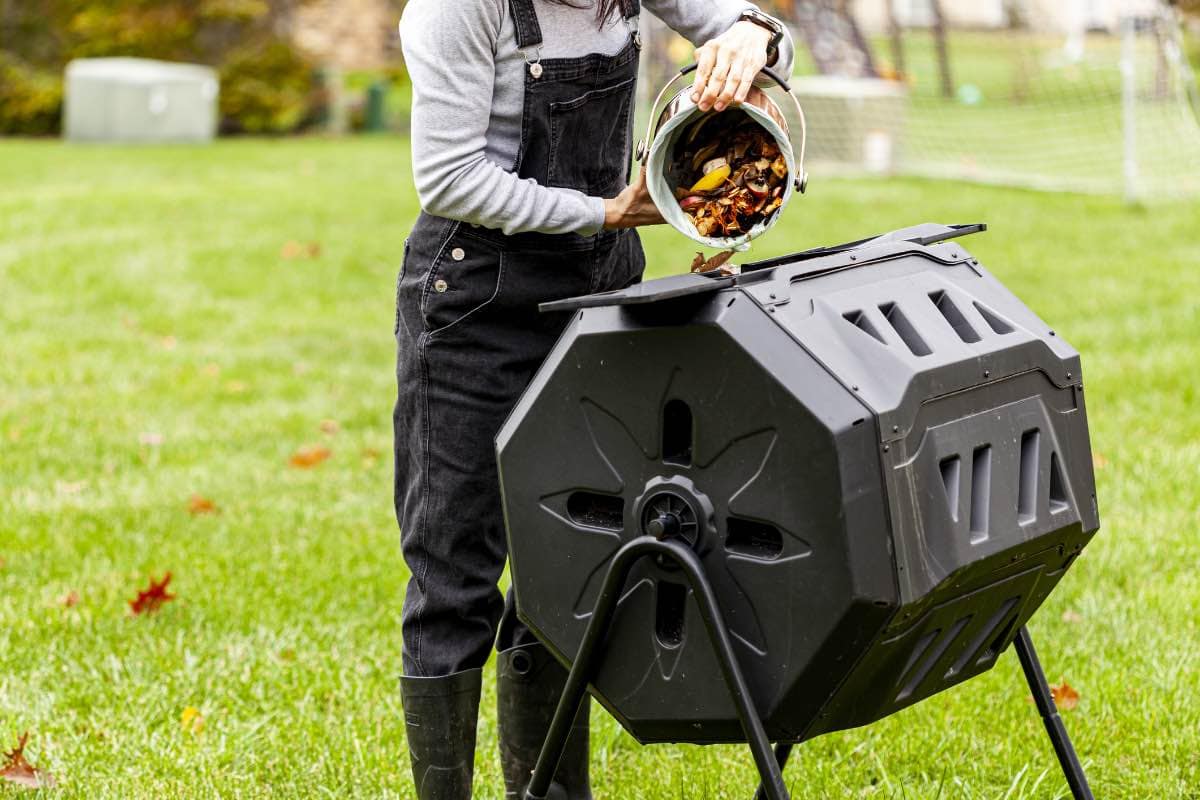
- A compost tumbler in the backyard. The tumbler is made from a plastic barrel and is rotated regularly to help the compost decompose.
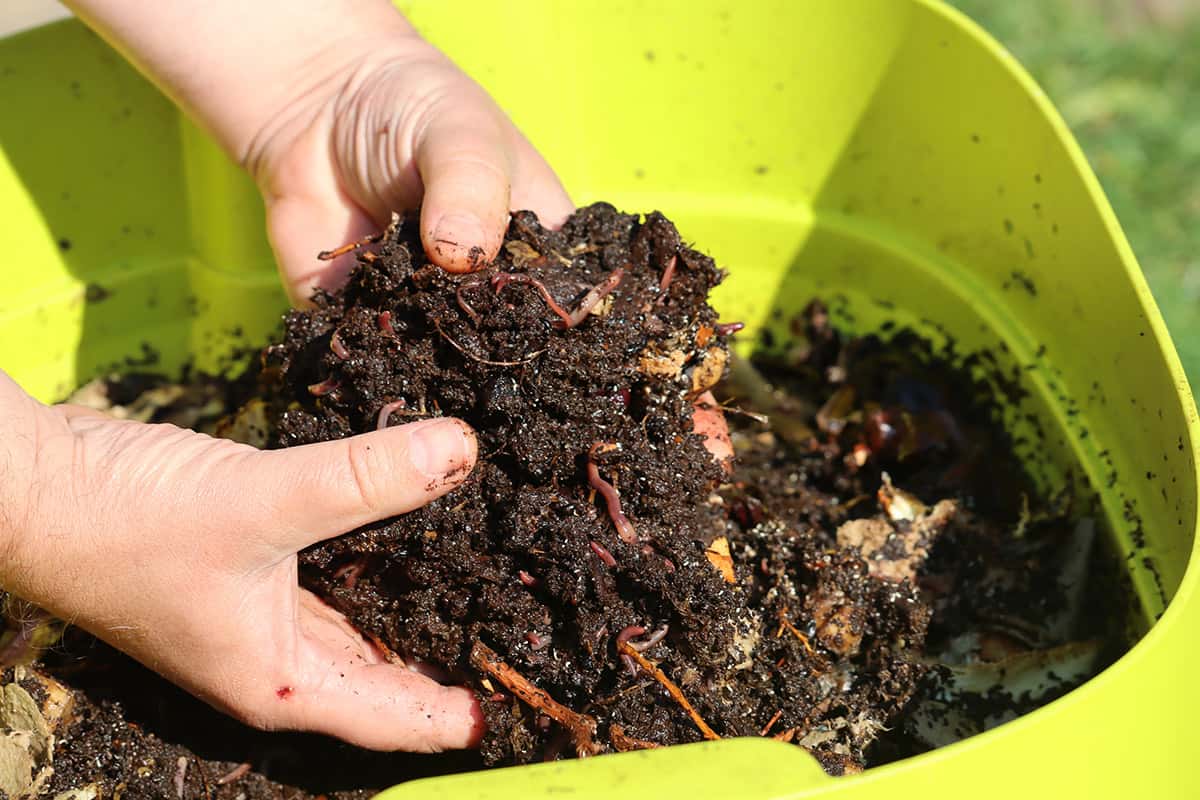
- A worm bin in the basement. The worm bin is a small container filled with bedding material and worms. The worms eat the organic materials in the bin and produce compost tea, which can be used to water plants.
- A vermicomposting bin in the kitchen. The vermicomposting bin is a small container filled with bedding material and worms. The worms eat the food scraps from the kitchen and produce compost tea, which can be used to water plants.

- A bokashi bucket in the kitchen. The bokashi bucket is a small container filled with bran and a bokashi bran liquid. Food scraps are added to the bucket and the bran liquid helps to ferment the food scraps. The fermented food scraps can then be added to the compost pile or garden soil.

- A leaf mold pile in the woods. The leaf mold pile is made from leaves that have been collected from the yard and allowed to decompose. Leaf mold is a type of compost that is high in organic matter and can be used to improve the soil in gardens and potted plants.
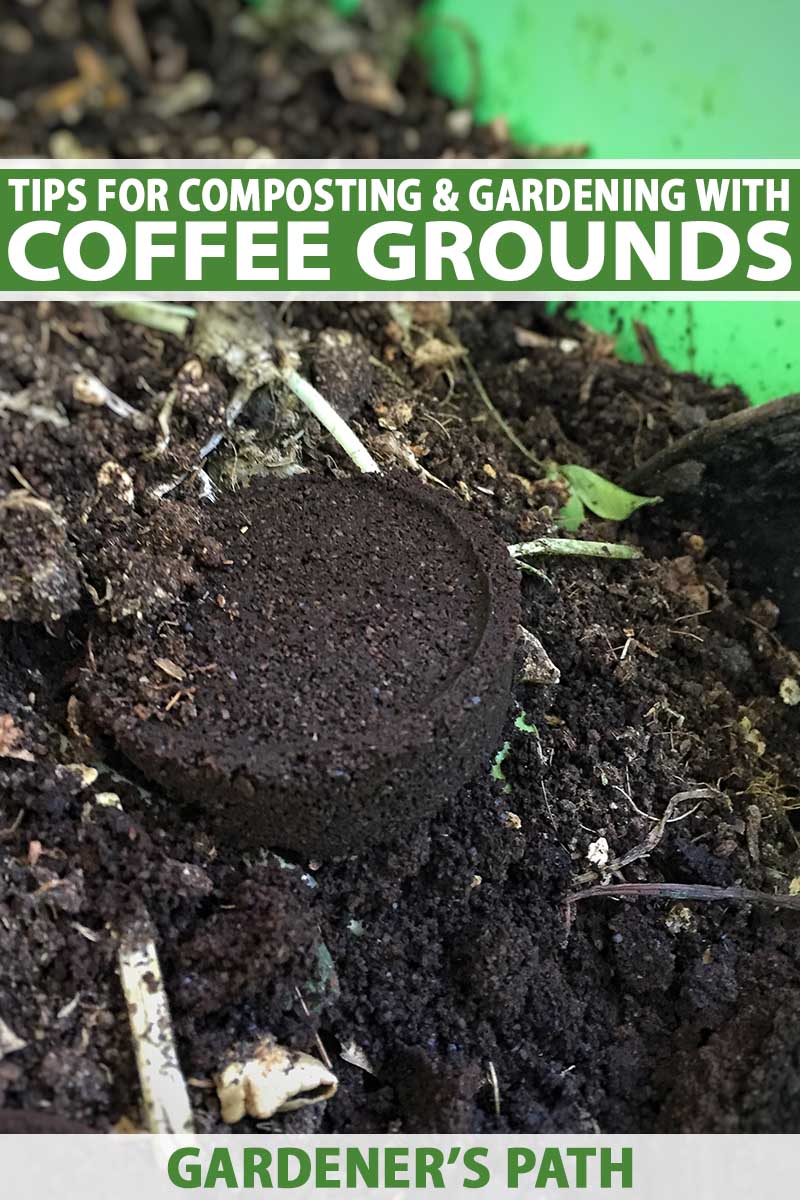
- A coffee grounds compost pile. The coffee grounds compost pile is made from used coffee grounds that have been collected from coffee shops and homes. Coffee grounds are a good source of nitrogen and can help to improve the drainage and aeration of soil.
- A worm farm in the backyard. The worm farm is a large container filled with bedding material and worms. The worms eat the organic materials in the bin and produce compost, which can be used to water plants.

Post a Comment for "How To Make Inground Compost In Days"